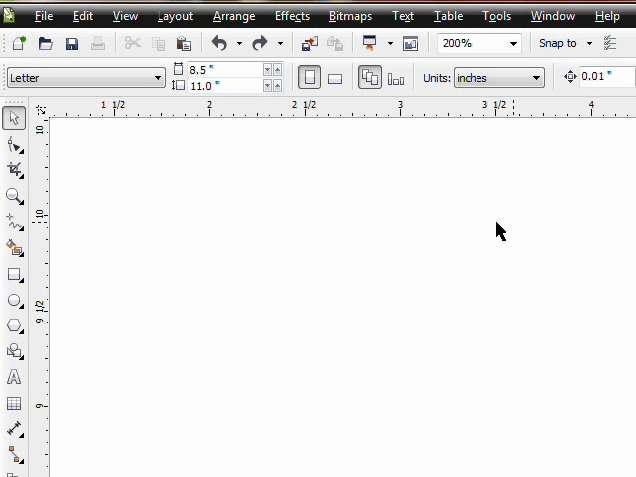
In this exercise, we’re going to draw a vase of flowers using as many CorelDRAW tools as possible. You’ll learn about shape, line and fill tools while seeing how they all interact together.

Are you ready? Here’s the Ellipse Tool.
The Ellipse Tool
At first glance, the Ellipse Tool appears to be a simple, no-frills, shape-creating tool. Adding circles to drawings might seem drab, but not when you consider what these circles can lead to and the possibilities become endless. With the Ellipse Tool, you can add bubbles to a newsletter background, or a simple circle can become ears on Mickey Mouse or tires on a car. You get my point. Circles and other seemingly simplistic figures aren’t just shapes. They’re building blocks. You can find the Ellipse Tool on the Toolbar or you can simply select F7 to access. Now draw some circles!
Ellipse Tool in action
Once selected, place your cursor over the drawing page and then click and drag the cursor to draw a circle. You can vary the shape and size of the circle depending on how you drag the cursor—left to right, up and down, diagonally, and so on. That was easy. On to the Rectangle Tool.
Drawing Rectangles
The Rectangle Tool is a lot like the Ellipse Tool. Simply select the Rectangle Tool from the Toolbox or you can press F6 and then click and drag the cursor over the drawing page.
Rectangle Tool in action
You can vary the rectangle shape and size depending on how you drag the cursor—left to right, up and down, and diagonally, just like the Ellipse Tool.
Pick Tool
You’ve had some practice creating shapes, so now it’s time to learn how to modify these shapes using the Pick Tool. Use the Pick Tool to move, resize, rotate, and skew objects. You also use the Pick Tool to select an object when you want to perform a specific function to that particular object, such as adding color.
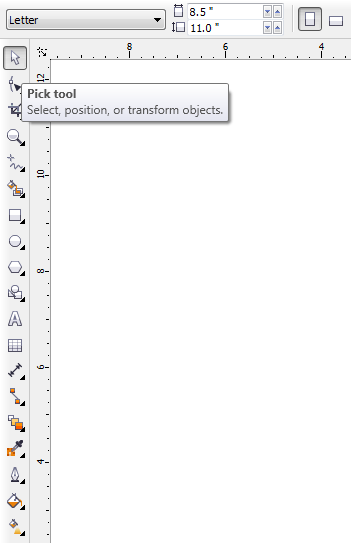
Pick Tool
Ready to try out the Pick Tool? Start by drawing a circle or a square with the Ellipse Tool or Rectangle Tool. Select the Pick Tool from the Toolbox, and then move the cursor over to the drawing page. Click the circle or square to select. Finally move the object around the drawing page.

Pick Tool in action
That’s how you move an object with the Pick Tool. Next, learn how to modify an object with the Control Handles.
Control Handles
Did you notice the tiny black squares around your circle or square after you clicked it with the Pick Tool? Those squares are called Control Handles, and they’re used to stretch, flatten, and resize an object.

Control Handles
A corner Control Handle increases or decreases the size of an object, and the center Control Handle stretches or flattens an object. You may have also noticed that a small X appeared in the center of your object. This X indicates the center of the object. You should always place your cursor over this X when you move an object to avoid accidentally resizing it.
Resizing and Stretching
Ready to try it?
- Start by drawing a circle and then with the Pick Tool, select the circle.
- Using the Pick Tool, select a bottom-corner Control Handle, and, as you hold the left mouse button down, move the cursor up and down.
- This will make the size of the circle increase and decrease.

Resizing and Stretching
When you click an object twice with the Pick Tool, an additional set of Control Handles appear. These are the rotating and skewing Control Handles. The corner Control Handle rotates the object, and the center Control Handle skews the object.

Rotating and Skewing Control Handles
Practice rotating and skewing.
- Draw a square, select the Pick Tool from the Toolbox, and then click the square twice.
- Practice rotating and skewing your square.

Rotating and Skewing
Great job! Let’s take a break from Shape Tools and learn about Line Tools, starting with the Freehand Tool.
Freehand Drawing
As you can see below, the Freehand Tool is grouped together with other line tools in the Toolbox or you can simply press F5.

Access from Toolbox or press F5
Drawing freehand might be kind of intimidating to you, especially with a mouse. But don’t worry. You can combine the Freehand Tool with other CorelDRAW tools that shape and form, and you can use it as one of many building blocks to create a drawing. Follow these steps to draw with the Freehand Tool.
- Select the Freehand Tool from the Toolbox, or press F5.
- Next, click and hold the left mouse button as you drag the cursor across the drawing page.
- You can vary the line direction depending on how you drag the cursor—left to right, up or down, diagonally, and so on.
- To draw a straight line between two points, click the left mouse button once to set the starting point of the line, move the cursor in the direction you want to draw the line, and then click the left mouse button once again.

Freehand Tool in action
Although a mouse may never replace the pen and pencil as a drawing instrument, the Freehand Tool does have an advantage—the Freehand Smoothing slider, available in the property bar.

Freehand Smoothing Slider
Use it to create a smoother line or to give a line a rougher appearance. The Freehand Smoothing slider may be set within a range between 0% and 100%. Lower values apply less smoothing, and higher values apply more smoothing. Next is Outline Tools. The other part of Line Tools.
Outline Tools
Outline Tools offer a variety of functions, from increasing line thickness, to changing line colors or completely removing them. You can find these tools together in the Toolbox, but you also have some of the same features available in certain Property Bars.

Outline Tools
You can change a line’s thickness by selecting one of the presets from the Width menus on the Toolbox or Property Bar, or you can input a different number in the Property Bar menu. If you ever need a broken or dotted line for one of your drawings, you can select different line styles from the Line style menu found on both the property bar and the Outline Pen window. What about color? By default, outlines are black, but you can easily change their color by right-clicking a color swatch from the drawing window.

Outline Pen Window
Are you getting anxious to draw? We have just one more series of tools to learn about and then we can start drawing our vase. So hold on tight.
The Bézier Tool
The function of all of the tools we’ve discussed so far has been pretty self-explanatory based on the tools’ names—the Freehand Tool lets you draw Freehand, the Outline Tools affect lines and outlines, and so on. However, the function of the Bézier Tool isn’t so obvious.

Bezier Tool
This tool gets its name from Mr. Pierre Bézier. In the 1970s, he thought of a formula for a curve that represents 3-D car body forms on computers. Just about all graphics programs use Bézier curves as the basis for standard curves. The Bézier Tool lets you draw lines with more intricacy than the Freehand Tool. This is because lines you create with the Bézier Tool are made up of segments connected by Nodes that you can shape using CorelDRAW’s Curve Handle. A Node is a small black square found within a line segment that allows you to modify the object when you select and adjust with the Shape Tool. The Curve Handle is a dotted line that appears at the end of the line you’re drawing; you can use it to guide and position the line. Try it out!
- Select the BézierTool from the Toolbox.
- Click and release the left mouse button to set the starting point of the line. A single Node will appear on the drawing page.
- Move the cursor across the drawing page and then click and hold the left mouse button. A second Node will appear with a connecting line.
- Drag the cursor down while still holding the mouse button. As you drag the cursor down, a Curve Handle will appear across the last Node at the end of the line. The cursor controls the crosshair end of the Curve Handle. The farther you drag the crosshair end of the Curve Handle from the Node, the more the line will bend.
- You can use the other end of the Curve Handle to guide the direction of the curve. Click and hold the mouse button any time you want the Curve Handle to appear, so you can reposition or adjust a line or curve.
- To end the line, press the spacebar on your keyboard. It may take a little practice to control, but keep trying; you’ll get it.

Drawing a Bézier curve
The Property Bar for the Bézier Tool is identical to the Shape Tool Property Bar, and it will appear when you create an object with the Bézier Tool or when you select the Shape Tool. Some of the functions from the Shape Tool’s Property Bar include adding or deleting Nodes, converting straight lines to curves, and reversing the direction of a curve, along with many other operations. You can execute some of these functions by simply clicking a button; others require that you click a button and then make an adjustment with your cursor or vice versa.

Shape Tool Property Bar
You can access the Shape Tool from the Toolbox menu or by simply pressing F10. If you want to use the Shape Tool on objects you created with the Rectangle tool or the Ellipse Tool (to name two), you must first convert the object to a curve before you can modify it with the Shape Tool. This is easy to do: Simply select the object with the Pick Tool, and then press CTRL + Q.
Thanks for your patience! Ready to put this information into action and start drawing?
Draw!
- Begin with a new page by pressing CTRL + N and then select the Draw a rectangle with a line width of 4.0 points.
- Next, convert it to curves by pressing CTRL + Q and then select the Shape Tool.
- Reshape the rectangle to look like a vase by selecting the bottom-corner Nodes and moving them up diagonally, just very slightly.
- Finally, select the Ellipse Tool, and draw a skewed circle on top of the rectangle.

Draw the Vase
Draw the stems and the buds.
- Select the Freehand Tool, and change the outline width to 4.0 points.
- Draw three stems, adjusting the Freehand Smoothing slider if necessary.
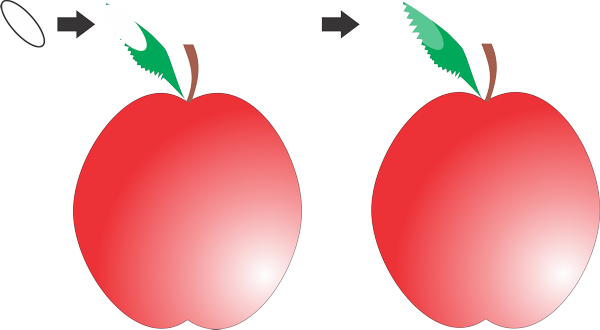
- On top of each stem, draw a bud using the Freehand Tool with a line width of 4.0 points.
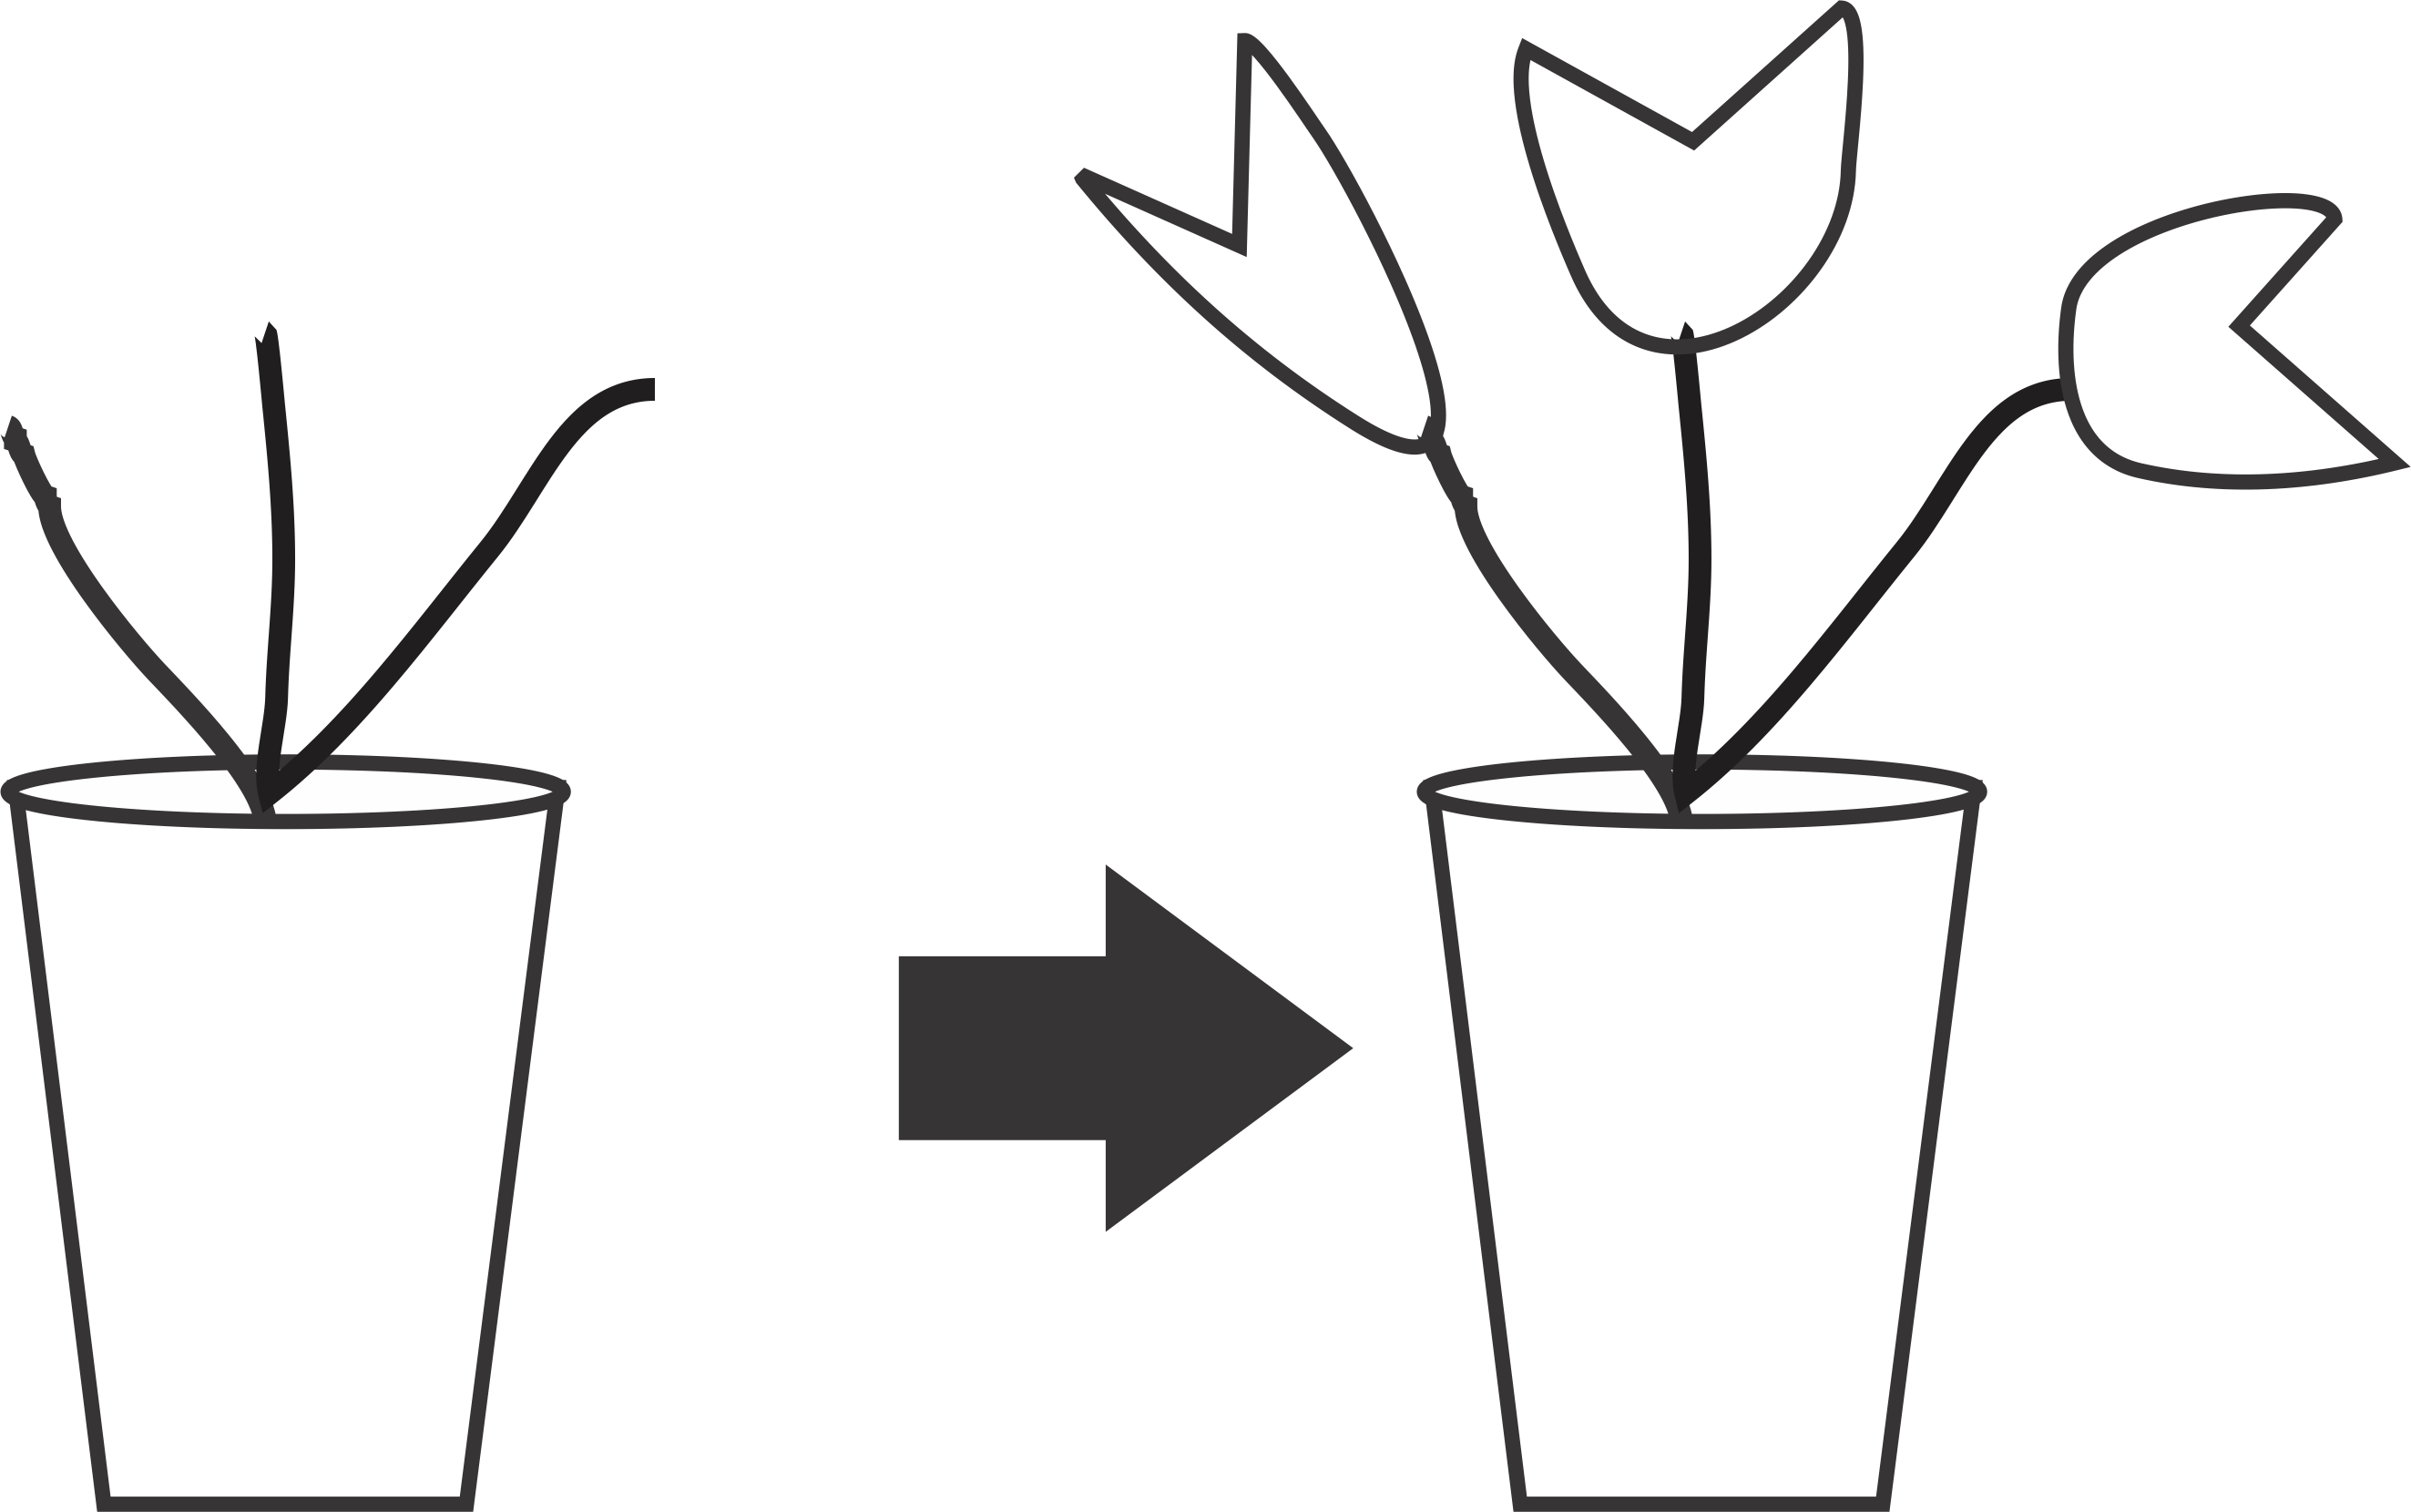
Add stems and buds
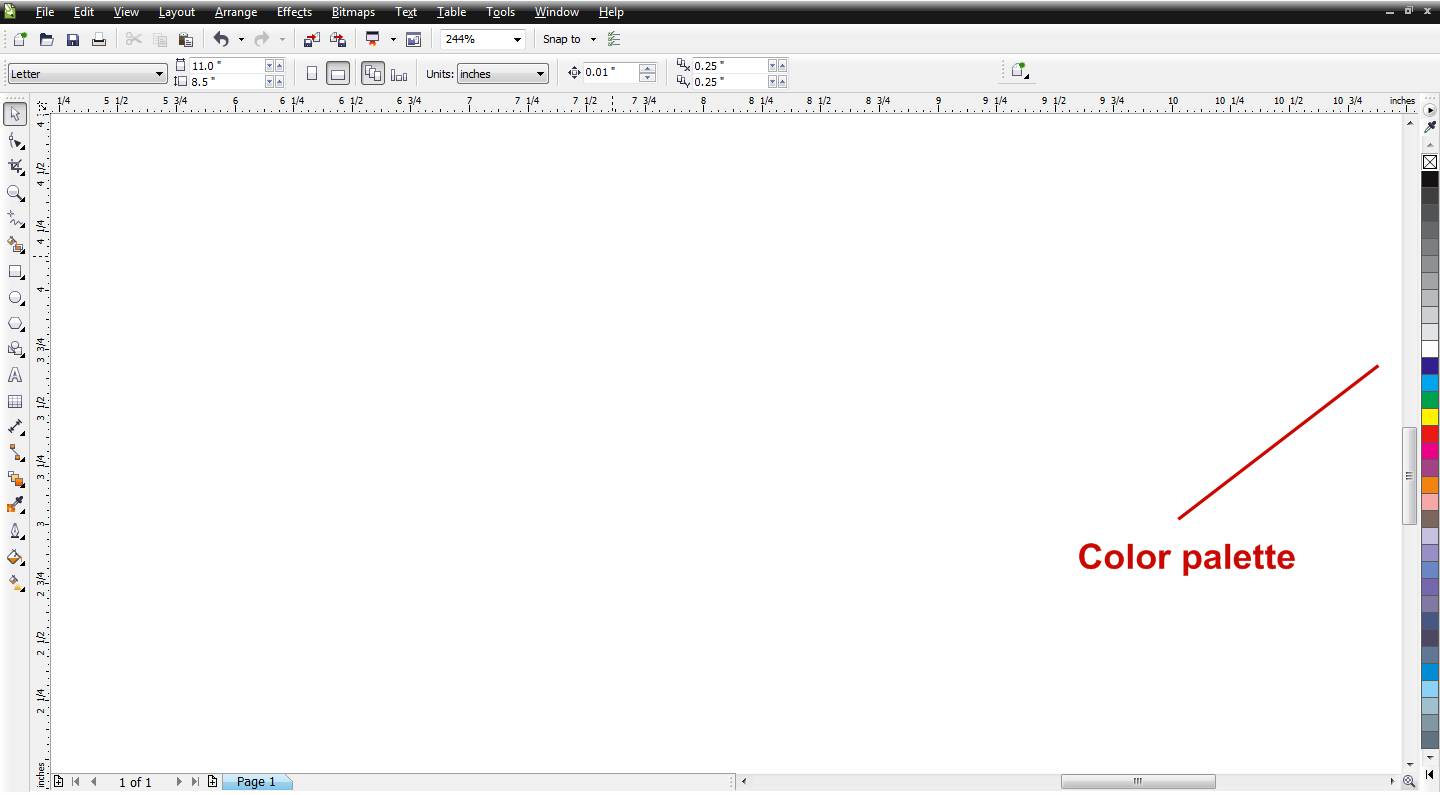
Adding Solid Colors to Shapes
A splash of color really adds interest to just about any project. You can easily color any of the shapes you just created by selecting one of the color swatches from the color palette with the Pick Tool.
Colors
Give it a try.
- Select the vase, and then click the orange color swatch. Voilà! Color just like that!
- Next, select the skewed circle, and then click the black color swatch.
- Finally, for the buds. Color one cyan, one yellow, and one red.
Adding color (click the video)
That looks great! Make sure you save your project and call it Vase.

Vase with Flowers
Next, continue with me over here (Coming Soon!) to add a little flare to your buds.